
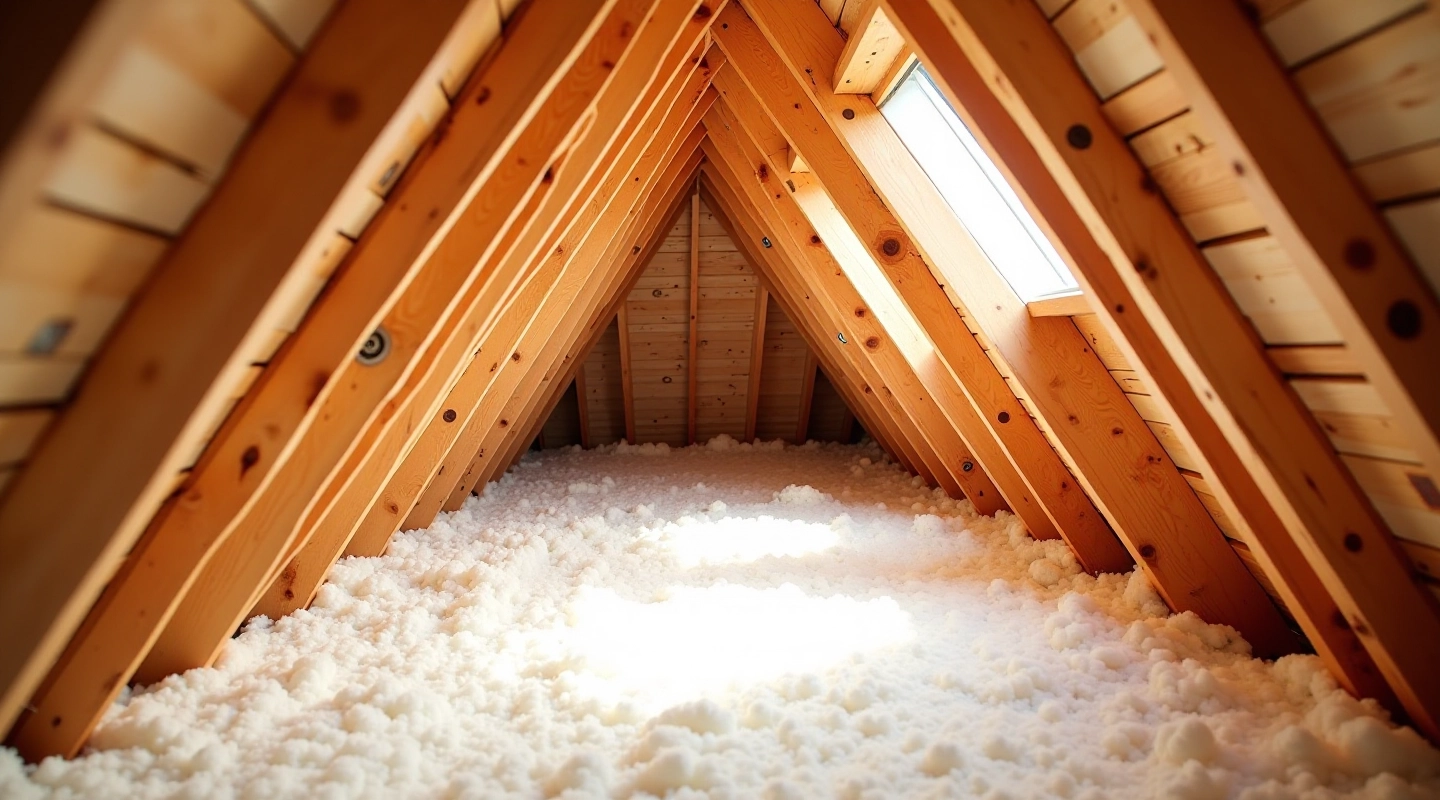
Understanding Blown Fibre Insulation
Learn what blown fibre is, how it works, and why it's effective for attic retrofit projects in Irish homes.
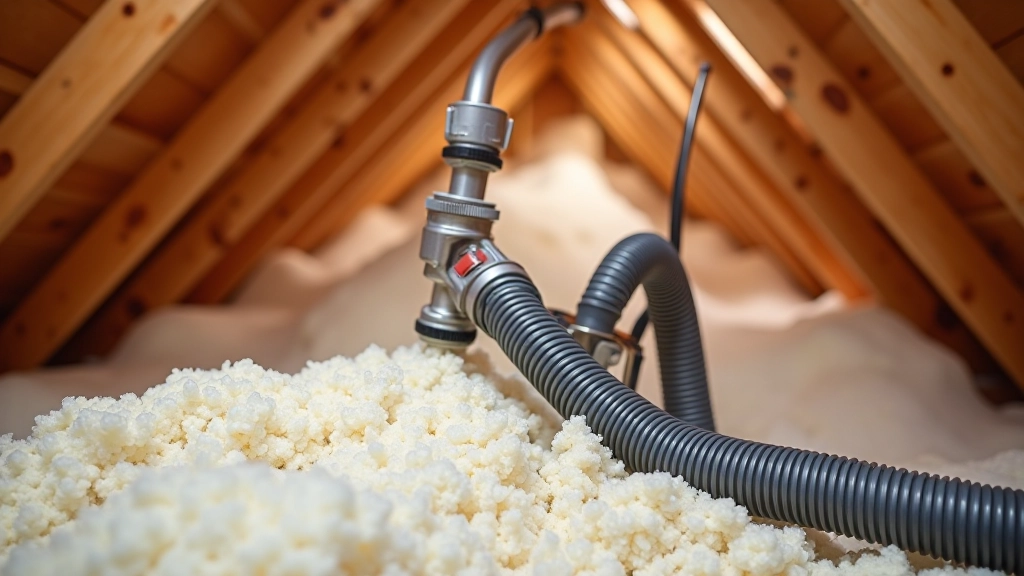
What happens during installation, equipment you'll need, and the biggest mistakes homeowners make that we can help you avoid.
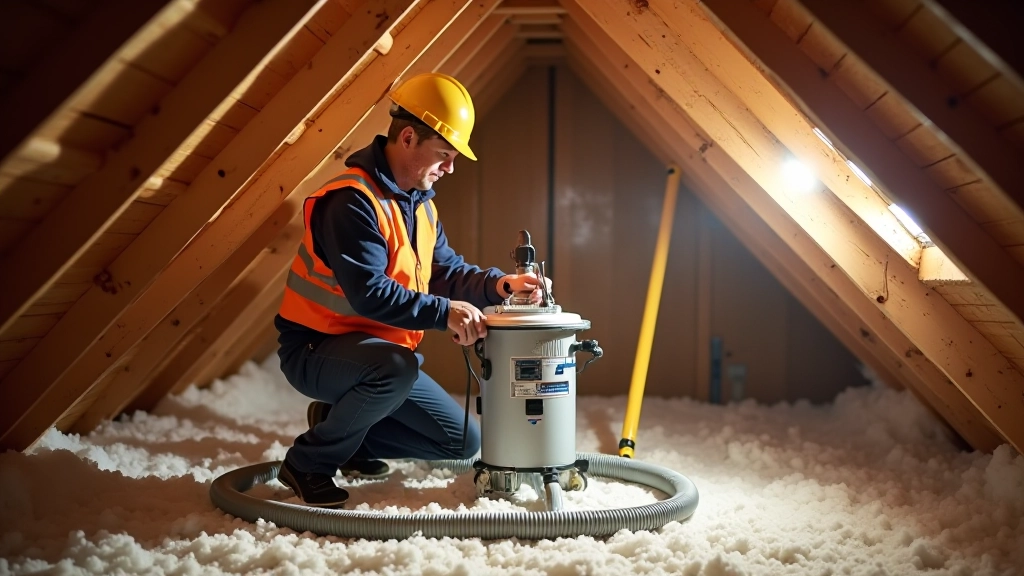
Installation day is straightforward if you know what to expect. We're talking about a process that typically takes 4-6 hours for an average attic space. The crew arrives with specialized equipment — a blower machine, hoses, and distribution nozzles — designed to get loose-fill insulation into every corner and crevice. You don't need to do much except stay out of the way and keep pets inside.
The actual process involves three main steps. First, they'll prepare the attic by setting up protective barriers and measuring the space. Next comes the blowing itself — that's where the magic happens. Finally, they'll clean up and do a final walkthrough to make sure everything's installed properly. Most people are surprised how quick it moves once the equipment starts running.
You'll need to clear your attic before installation day. That doesn't mean empty it completely — just move insulation batts if you have them, clear any stored items from the floor, and make sure there's nothing blocking access points. If you've got old fiberglass batts, those need to come out. Leaving them underneath blown insulation creates air pockets that reduce effectiveness.
The installers bring everything themselves. A typical setup includes a truck-mounted blower (the main machine), 50-75 feet of hose depending on attic layout, and distribution nozzles that control how the material flows. They'll also bring safety equipment, dust masks, and protective coverings for any HVAC equipment or electrical components in your attic. Your job is basically to unlock the attic access and stay clear.
This article provides informational guidance about blown fibre insulation installation processes. Every attic is different — your specific installation may vary based on local building codes, existing conditions, and professional recommendations. Always consult with qualified installers about your particular situation. Safety during installation is critical; proper ventilation and electrical clearance are non-negotiable requirements that professionals handle.

Once everything's set up, the actual blowing takes 1-2 hours depending on attic size and complexity. The machine breaks down the insulation batches and pushes them through the hose at controlled speed. You'll hear noise — it's loud enough that conversation in nearby rooms becomes difficult. Don't worry about this; it's completely normal and temporary.
The crew works systematically, starting at the farthest point from access and working backward. They're aiming for specific R-values (typically R-38 to R-60 depending on your climate). That translates to 10-15 inches of coverage in most cases. They'll monitor depth as they go, adjusting nozzle position to ensure even distribution. The goal is consistent coverage everywhere — no thin spots, no overpacking.
Homeowners sometimes think blown insulation works fine over existing batts. It doesn't. Air pockets form underneath, reducing effectiveness by 15-20%. Remove old batts first — it takes an hour but makes a real difference.
Blown insulation can accidentally block soffit vents if installers aren't careful. This kills your attic ventilation and creates moisture problems. Good installers use baffles to keep vents clear. Make sure they do.
Insulation around electrical boxes and wiring is risky if done wrong. Blown fibre shouldn't directly contact wiring or cover electrical boxes completely. Professional installers know the clearance requirements — amateurs often don't.
Sometimes crews rush and leave thin spots near edges or around obstacles. Uneven insulation means uneven thermal protection. You'll have cold corners and wasted energy. Insist on consistent depth throughout.
In certain climates, you need a vapour barrier between insulation and drywall below. Skipping this creates condensation issues in winter. This is location-dependent — make sure your installer knows your local requirements.
Limited or awkward attic access makes installation harder and more expensive. Some crews charge extra for difficult access. Know your attic layout beforehand and discuss it with installers during the quote phase.
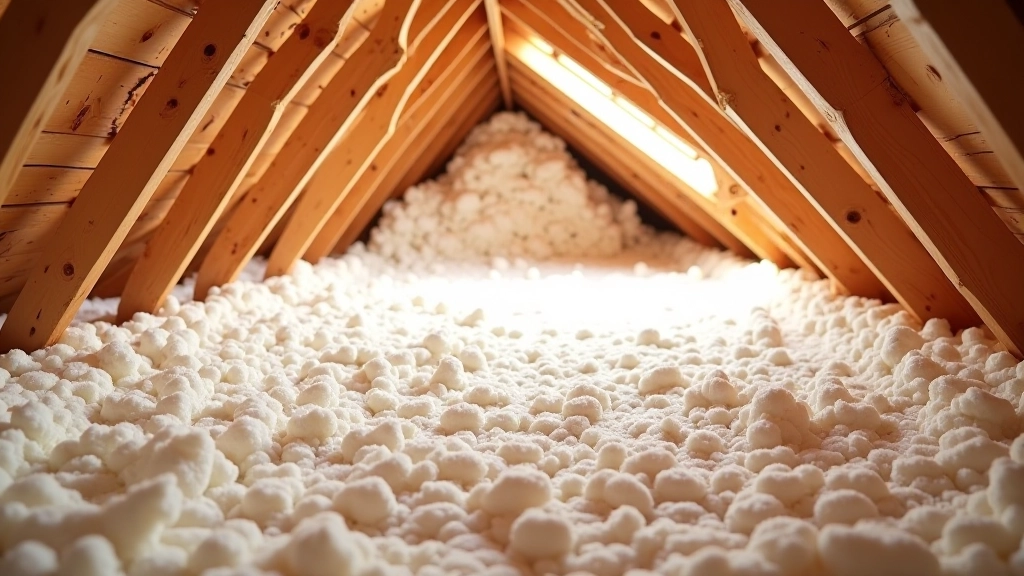
Once the blowing's done, the crew cleans up any material that escaped outside the attic and removes protective coverings. They'll do a final walkthrough showing you the finished installation — checking that coverage looks even and vents are clear. Don't skip this step. It's your chance to ask questions and confirm everything meets your expectations.
You might notice some settling in the first few weeks. This is normal. Blown insulation compacts slightly under its own weight, which is why installers often overfluff slightly at the beginning. After a month, you should see consistent coverage and no further settling. If coverage drops noticeably below target depth, contact your installer — that's not normal.
Temperature changes should be noticeable within days. Your attic will feel cooler in summer and warmer in winter. Upstairs rooms will be more comfortable. Some people feel the difference immediately; others notice it more gradually as the insulation fully settles. Either way, you're saving energy from day one.
Before installers arrive, work through this list:

Author
Editorial Team
Written by the polariplex Editorial Team, focused on practical, accurate guidance for attic insulation retrofits and ventilation.
Explore related topics to deepen your understanding of attic insulation retrofits
Learn what blown fibre is, how it works, and why it's effective for attic retrofit projects in Irish homes.
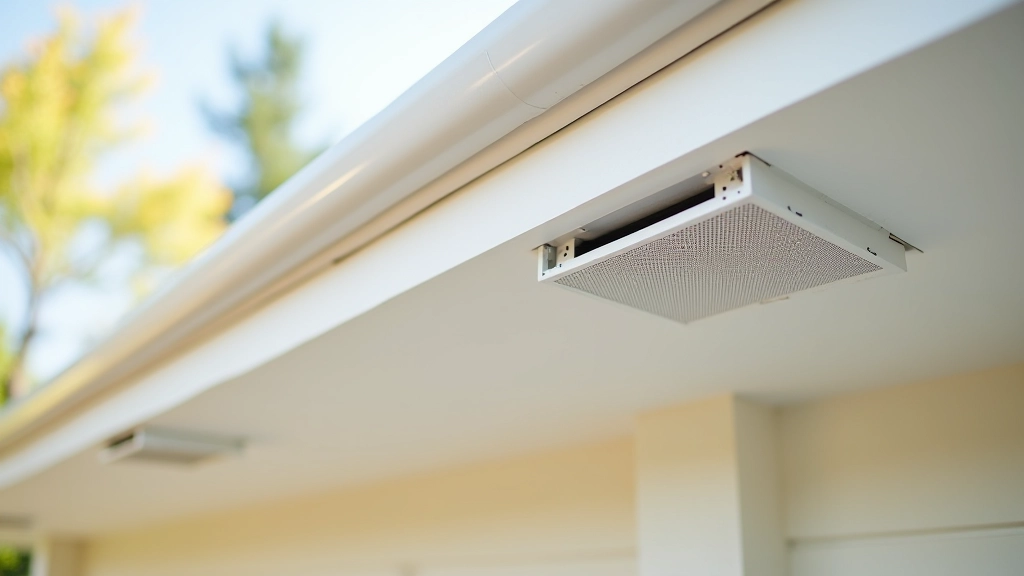
Proper ventilation prevents moisture damage. We cover soffit vents, ridge vents, and ventilation strategies.
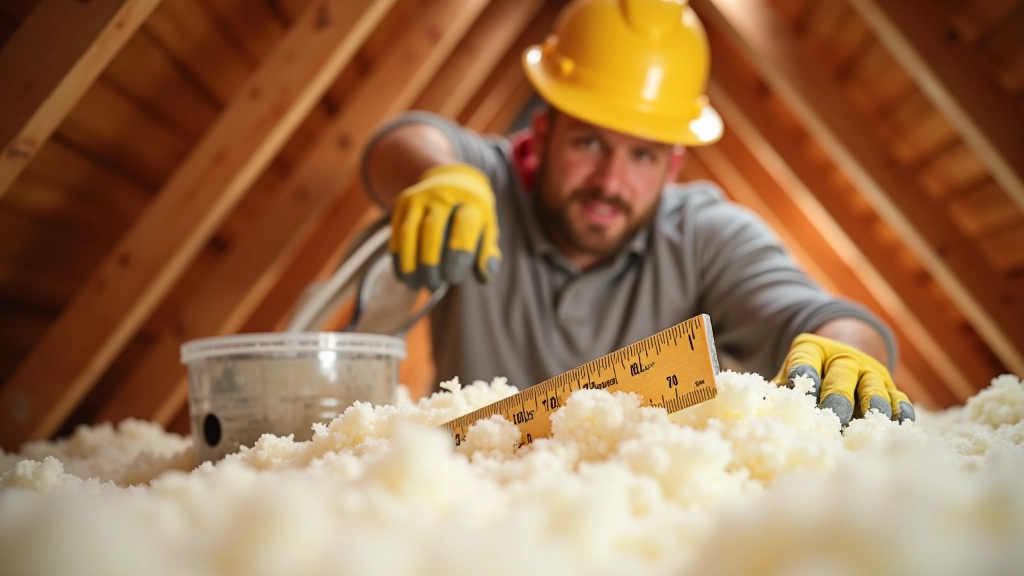
Step-by-step instructions for evaluating your current insulation and identifying retrofit opportunities.
Get in touch with our team to discuss your attic insulation project and how we can help guide your retrofit journey.
Send Us a Message